Mud Room: Phase 1 Done
Four months ago, I shared my thoughts on designing the mud room, the projects that this area requires and the different phases that it would take due to budget and timing. I also said that I wanted Phase 1 done by the fall so we would have a place to store jackets and heavier coats. After being lazy about it the entire summer, we finally finished Phase 1 over two weekends at the end of September and beginning of October.

To recap, Phase 1 was removing the drop ceiling and the terrible wallpaper, which I had already done before writing the post about the mud room. Then we removed all the cabinetry and I had to spend a lot of time fixing up the walls with mesh and joint compound since our puppy destroyed that room during her teething phase.

Then, in September, I used Behr’s indoor primer to cover up the walls that had had wallpaper. I have different ideas of how I want to paint the room, including perhaps more than one paint color and different shapes, but that will come after the renovation (Phase 2 and/or 3).
I did not fix the walls as good as an expert would have and the primer job isn’t great, but this will do for now. I basically just wanted a blank slate so we could add in storage that I actually like.

Once the walls were a uniform bright white, we brought in a vintage wardrobe that we had been using as storage in the garage. This vintage piece used to be Daniel’s closet in our Brooklyn apartment that we got from Cosmo antique store in Williamsburg. We didn’t have use for it in the house until now. I’m pretty sure there are several coats of different colors of paint on it, but I don’t hate the color it is now and it works so we’re leaving it as is. Maybe in the future I’ll sand it down and see what the color and wood look like under there.
For shelving, we went to a place not too far from us called Real Antique Wood. It is a wood lover’s dream. The reclaimed and salvage wood is beautiful and seeing all the different kinds of pieces of wood and vintage items is really inspiring. From the first time I went in there just to peruse the store, I knew we were going to buy wood from there to use as shelves. We bought a piece of maple that, on its vertical edges, had raw wood edges. We asked them to cut it in half vertically so we could have two shelves with raw edges. Then, for the longer shelf, we got a piece of pine that was reclaimed and still has some of its old paint on part of one edge. Character! If you’re ever on the lookout to use a local salvage wood place and get natural or unique pieces like these rather than go to a big box for average wood, just know it comes with a hefty price tag. The piece of maple was $65 with the cut free of charge, and the piece of pine was $35.

While there are any number of beautiful and styled brackets to choose from, especially quite a few from Rejuvenation Hardware that I really like, this is not where we wanted to spend our money, especially after spending $100 on three pieces of wood. So we went to Home Depot and bought brackets that I thought looked simple, sleek and had some style. Unfortunately, these were awful to install. It was just really hard for us to get a good angle to screw in the screws into the wall. We probably didn’t have the right tool for it, but, warning!, brackets with any amount of extra detail can be tricky to deal with.
For the shelving storage, we got baskets from several mass retailers. One was from Michael’s that we bought to hold something at our wedding four years ago, actually. The others I bought over the past few months at Ikea, Home Depot and Target.

The art work are both gifts. One is a sign that Daniel’s father and stepmother sent us as the mud room has all of our dog’s stuff (and was where we used to lock her up when we first got her). The watercolor on top of the wardrobe is something that Daniel’s niece painted for us when she was visiting over the holidays. It captures our small family of two humans and a dog at the beach.
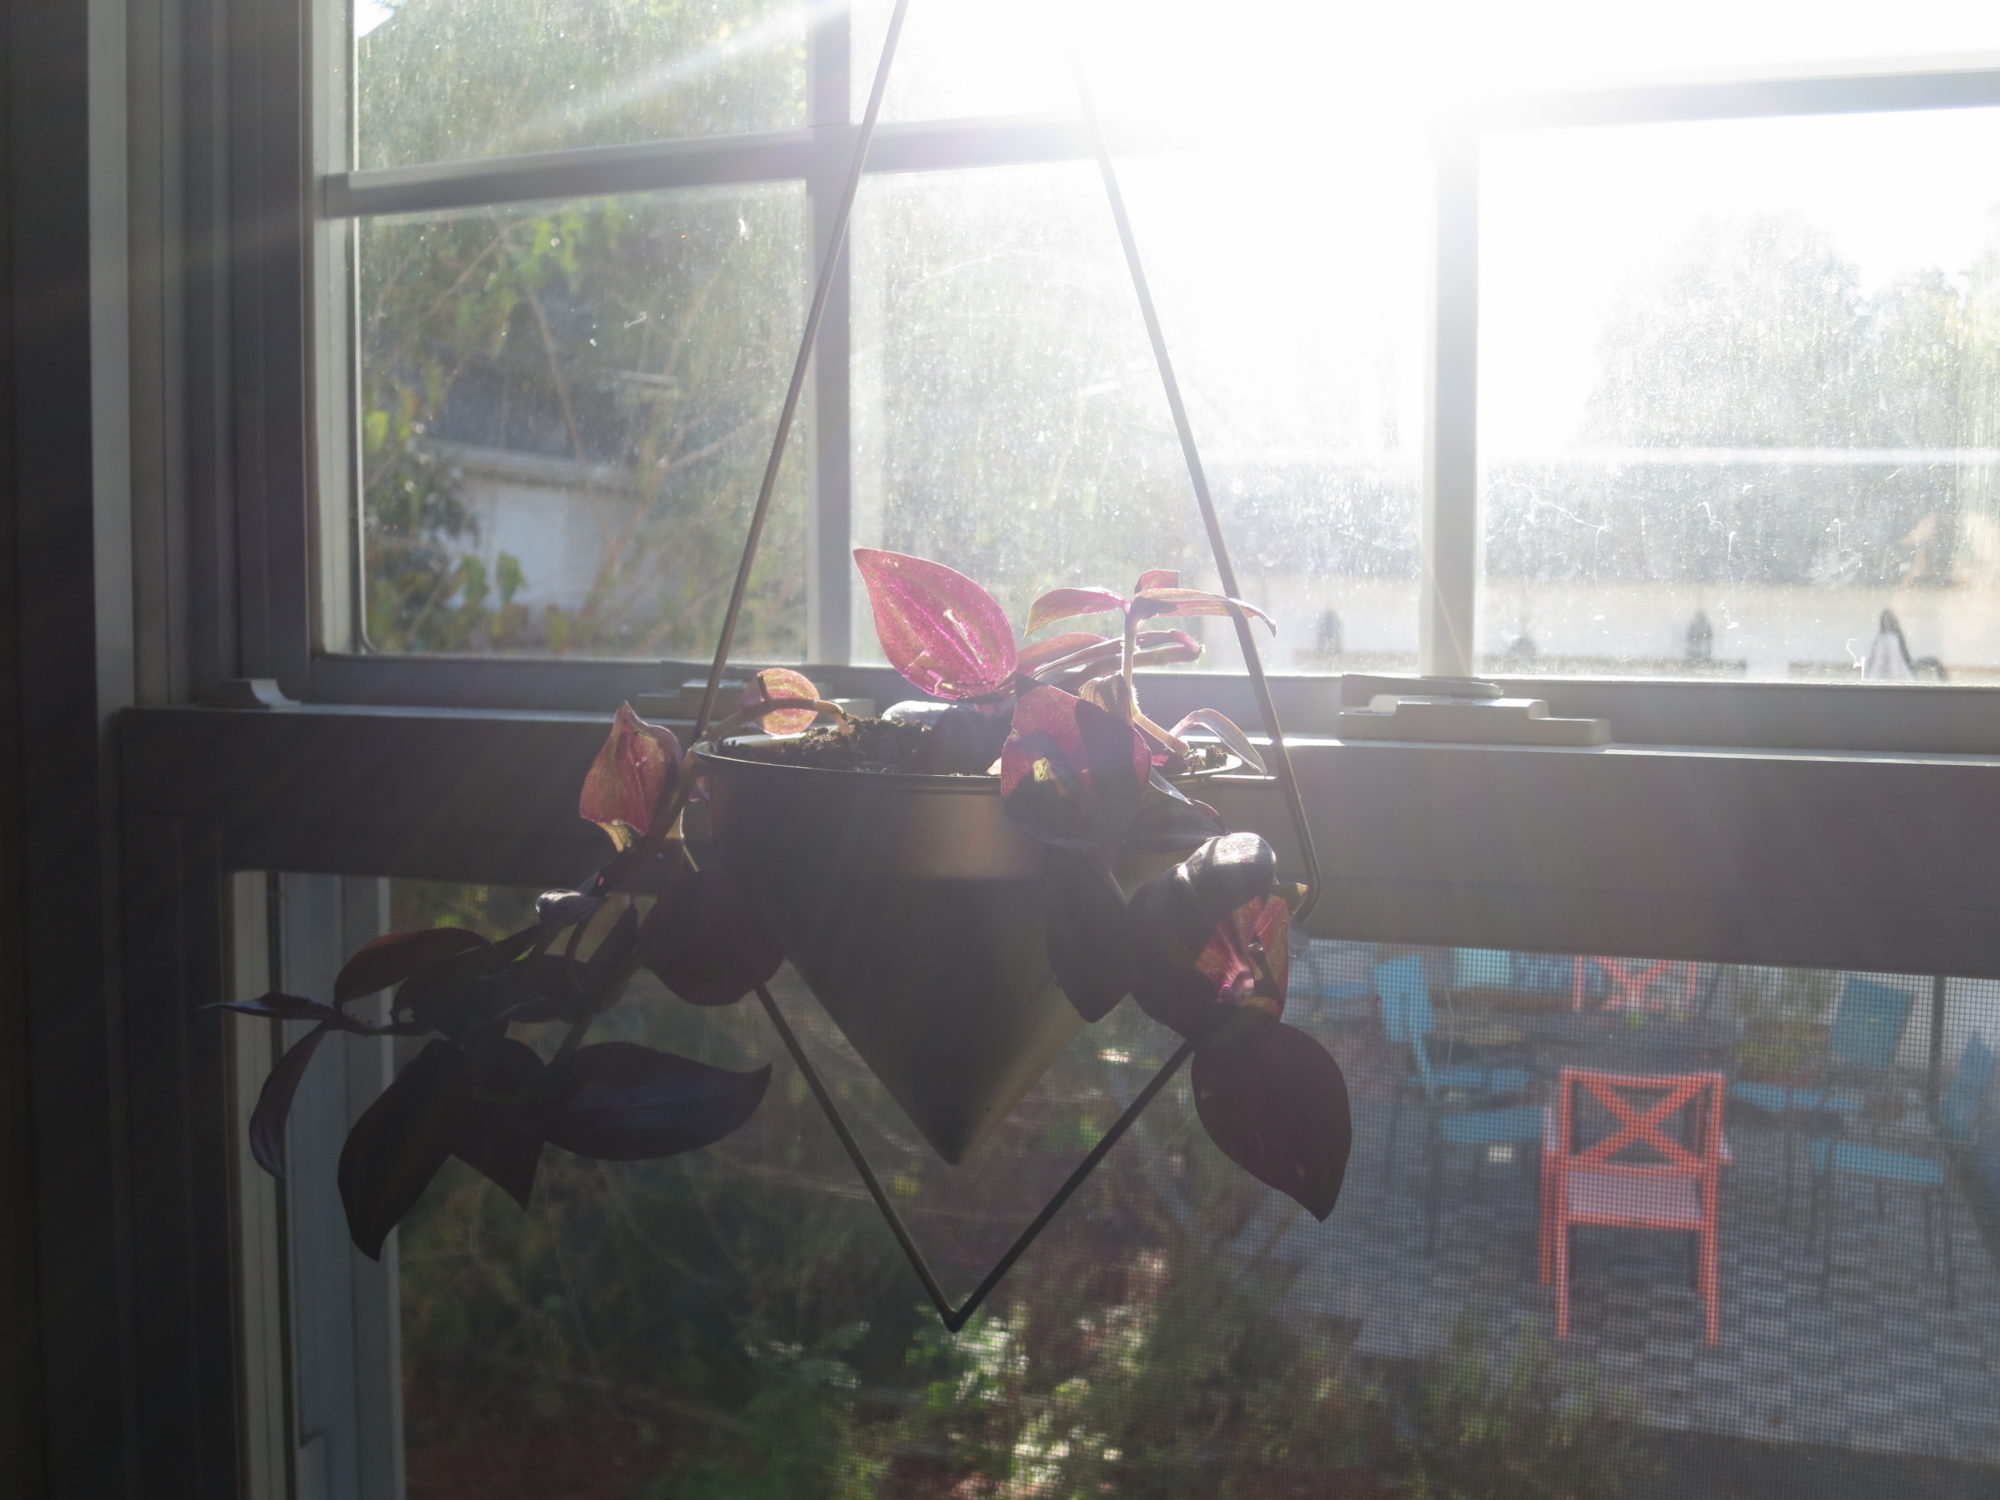
The mud room before had one hanging plant but I knew that I wanted to add more plants to this room to pretty it up, especially now that we have extra surfaces to put them. In short, I am starting to get my jungalicious on and this was ground zero. What are these plants? Well, I can’t tell you because I know nothing about plants. I can tell you that my sources for these plants were a local nursery and Home Depot and my sources for planters were Urban Outfitters and whatever came with plants that were given to us as housewarming gifts. It is a goal of mine to be more interested in planters and plants in 2017.

So this is it. The mud room at the end of Phase 1. Phase 2 won’t start before 2018 but don’t worry, we have several more DIY projects to share with you over the next few months.


Comments
Your piece of wood is really gorgeous. By the way, where did you buy the black and brown basket? In my eyes, it’s the prettiest basket i ever seen.
Thank you! The rectangular black and brown basket I bought from Michael’s craft stores four years ago and the tall cylindrical one I bought from Ikea this past spring.