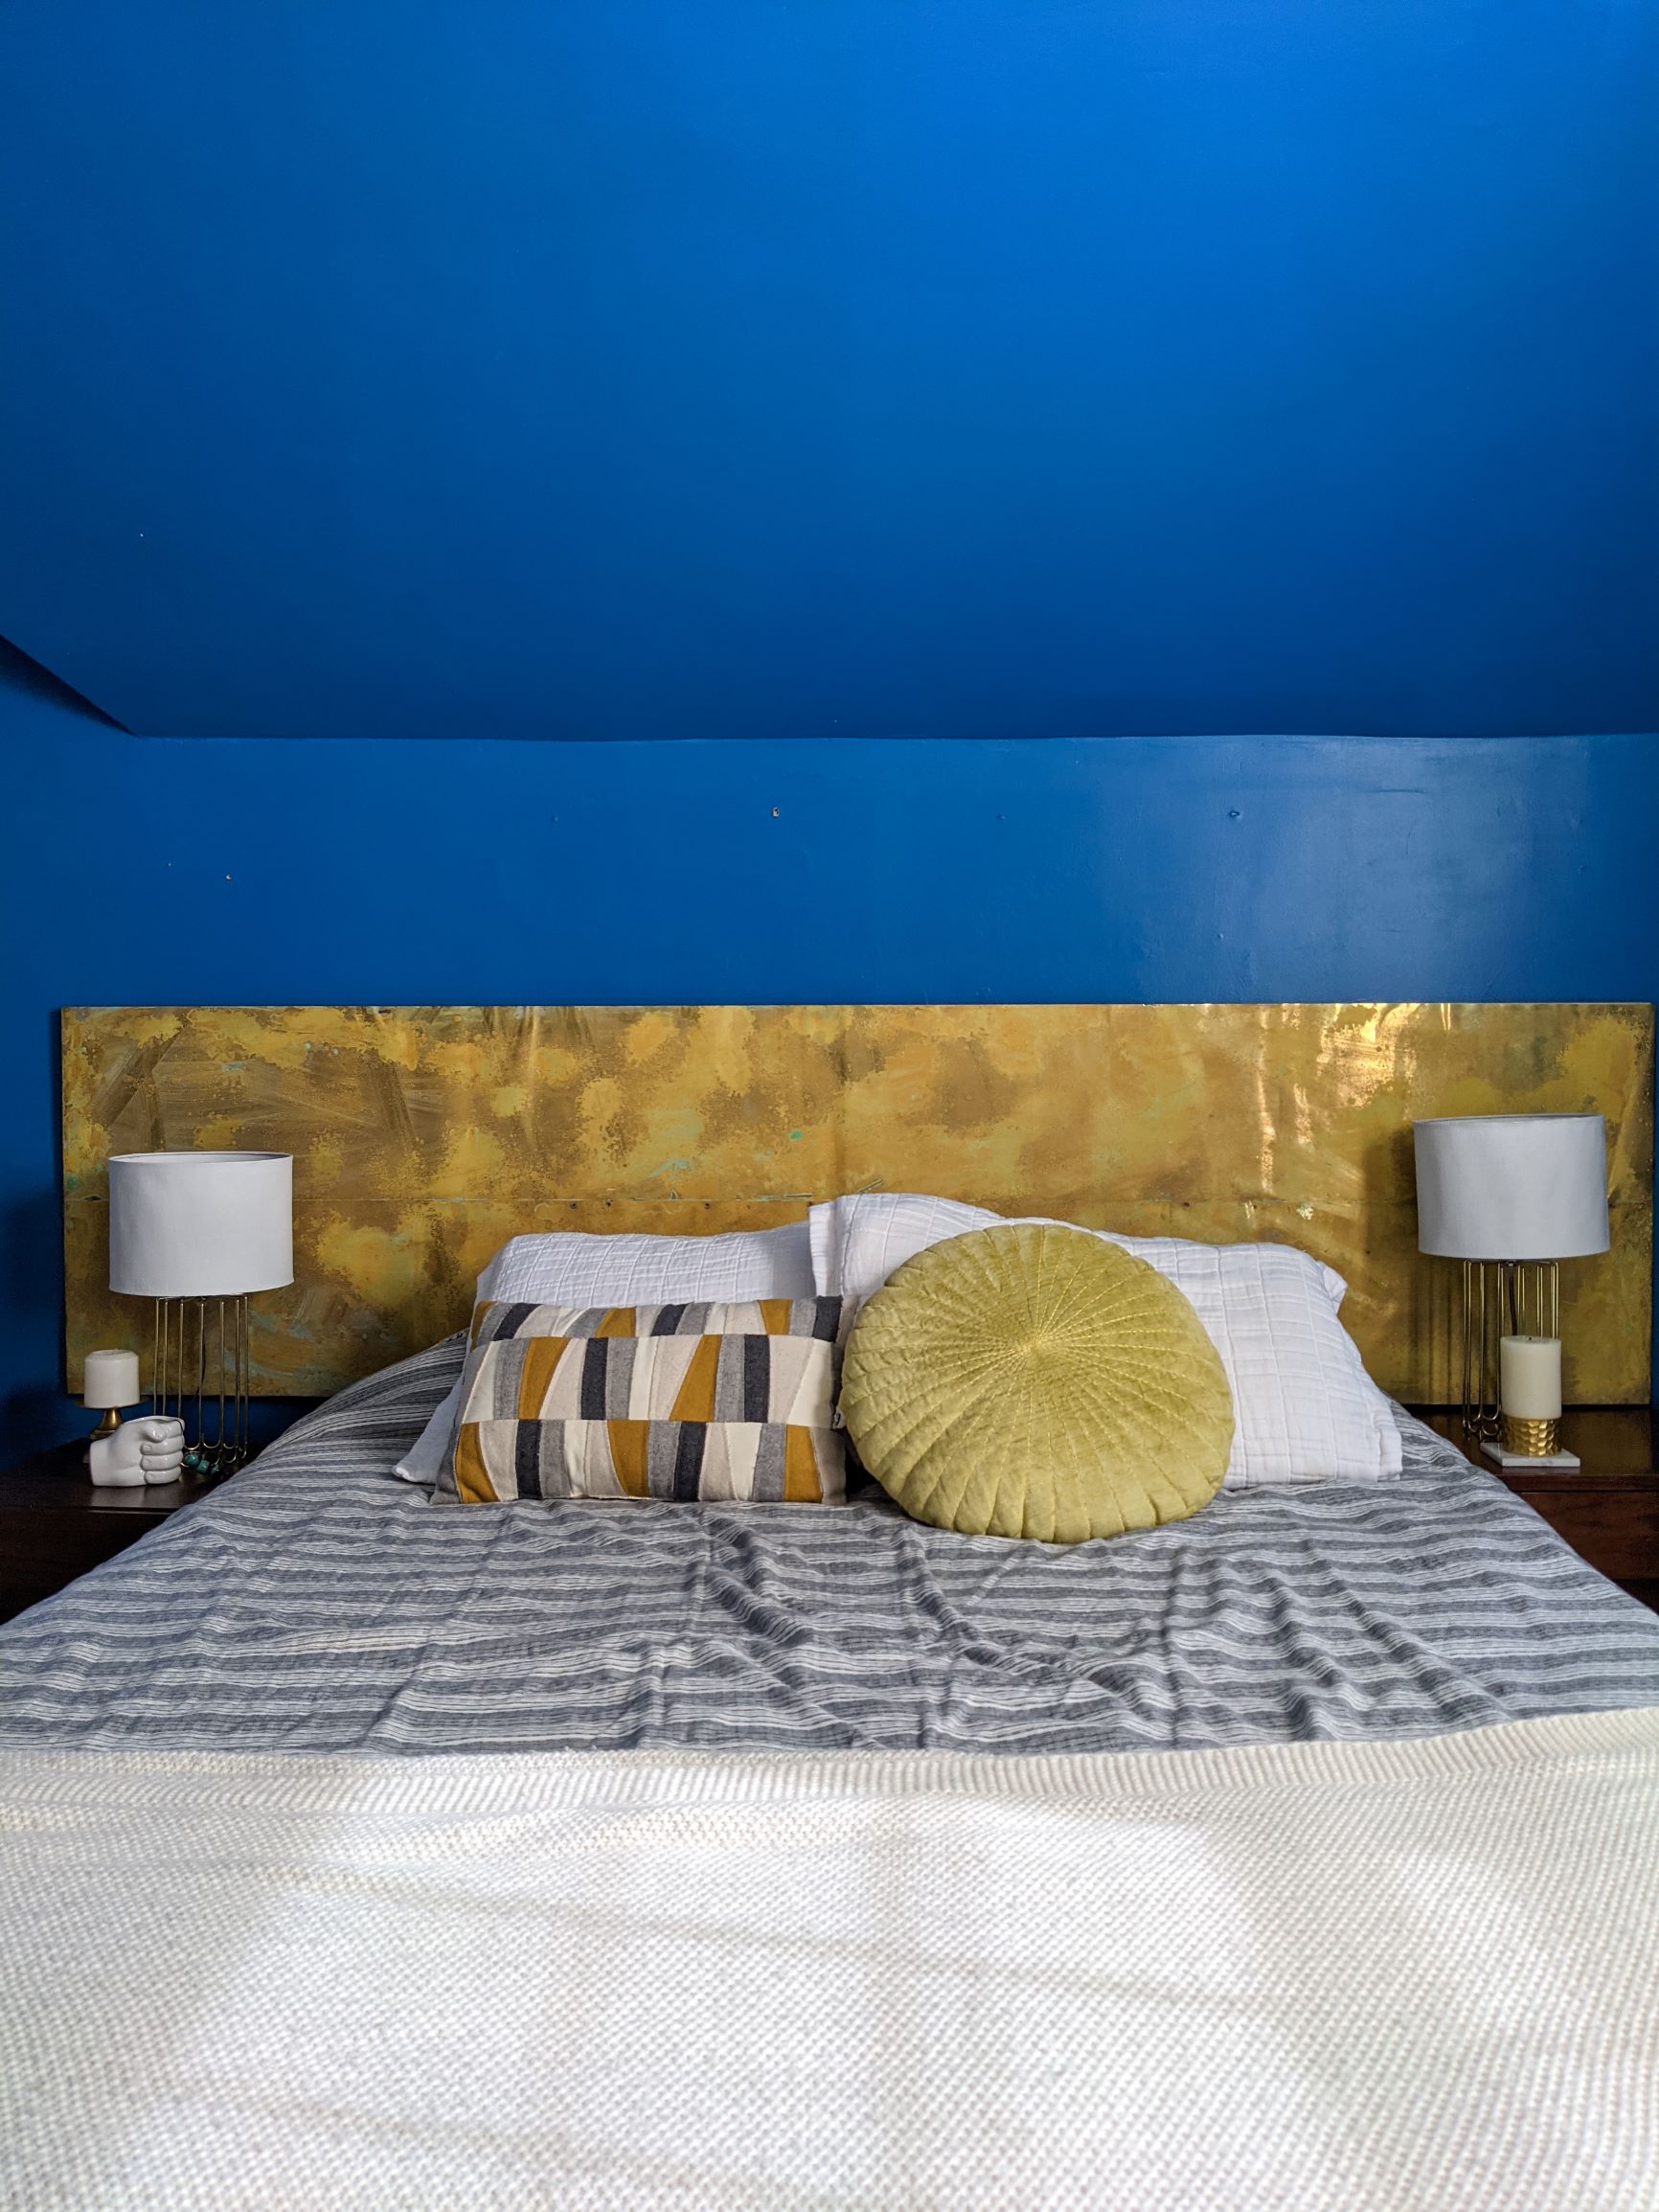
DIY Brass Headboard Reveal
I made a headboard! I have had this idea in my mind for several years and I finally did it. One of the best parts is I used mostly materials I already had or could take for free from a friend. And the absolute best part is that we love how it came out!
I first shared the headboard idea and process here. I’ve also been sharing the entire process on my Instagram, here. And now it’s done and I absolutely love it!

Once the headboard was built, it was all about gluing the brass sheets on, making sure the brass was as smooth as possible, and then adding more glue and hammering in nails to make sure the brass was adhered to the wood everywhere. I didn’t do the best job here and the end result has some ripples in the wood, but it actually looks good because it adds to the aged effect of the brass.
To create the aging effect, I mixed 1 Tbsp of salt with 1 cup of white vinegar and sprayed the entire piece. I let it sit for an hour or so, wiped it down to see the effect, and then sprayed some more. I let that second spray job sit for several hours, then wiped it down and loved it so decided to quit there.

The extra glue that ended up on several areas of the brass and the metal from the nails bled a little and gave the aged brass a super cool effect.
I had built a French cleat to hang the heavy headboard. We hung up the cleat using Molly bolt anchors since it’s hard for us to find studs with our plaster walls. And then hung up the headboard in place on the cleat.


And there it is!

It looks like a piece of art in the room and, if we ever feel like we don’t want to use this as a headboard anymore, we could always hang it vertically or horizontally as art somewhere else. How cool is that?!


