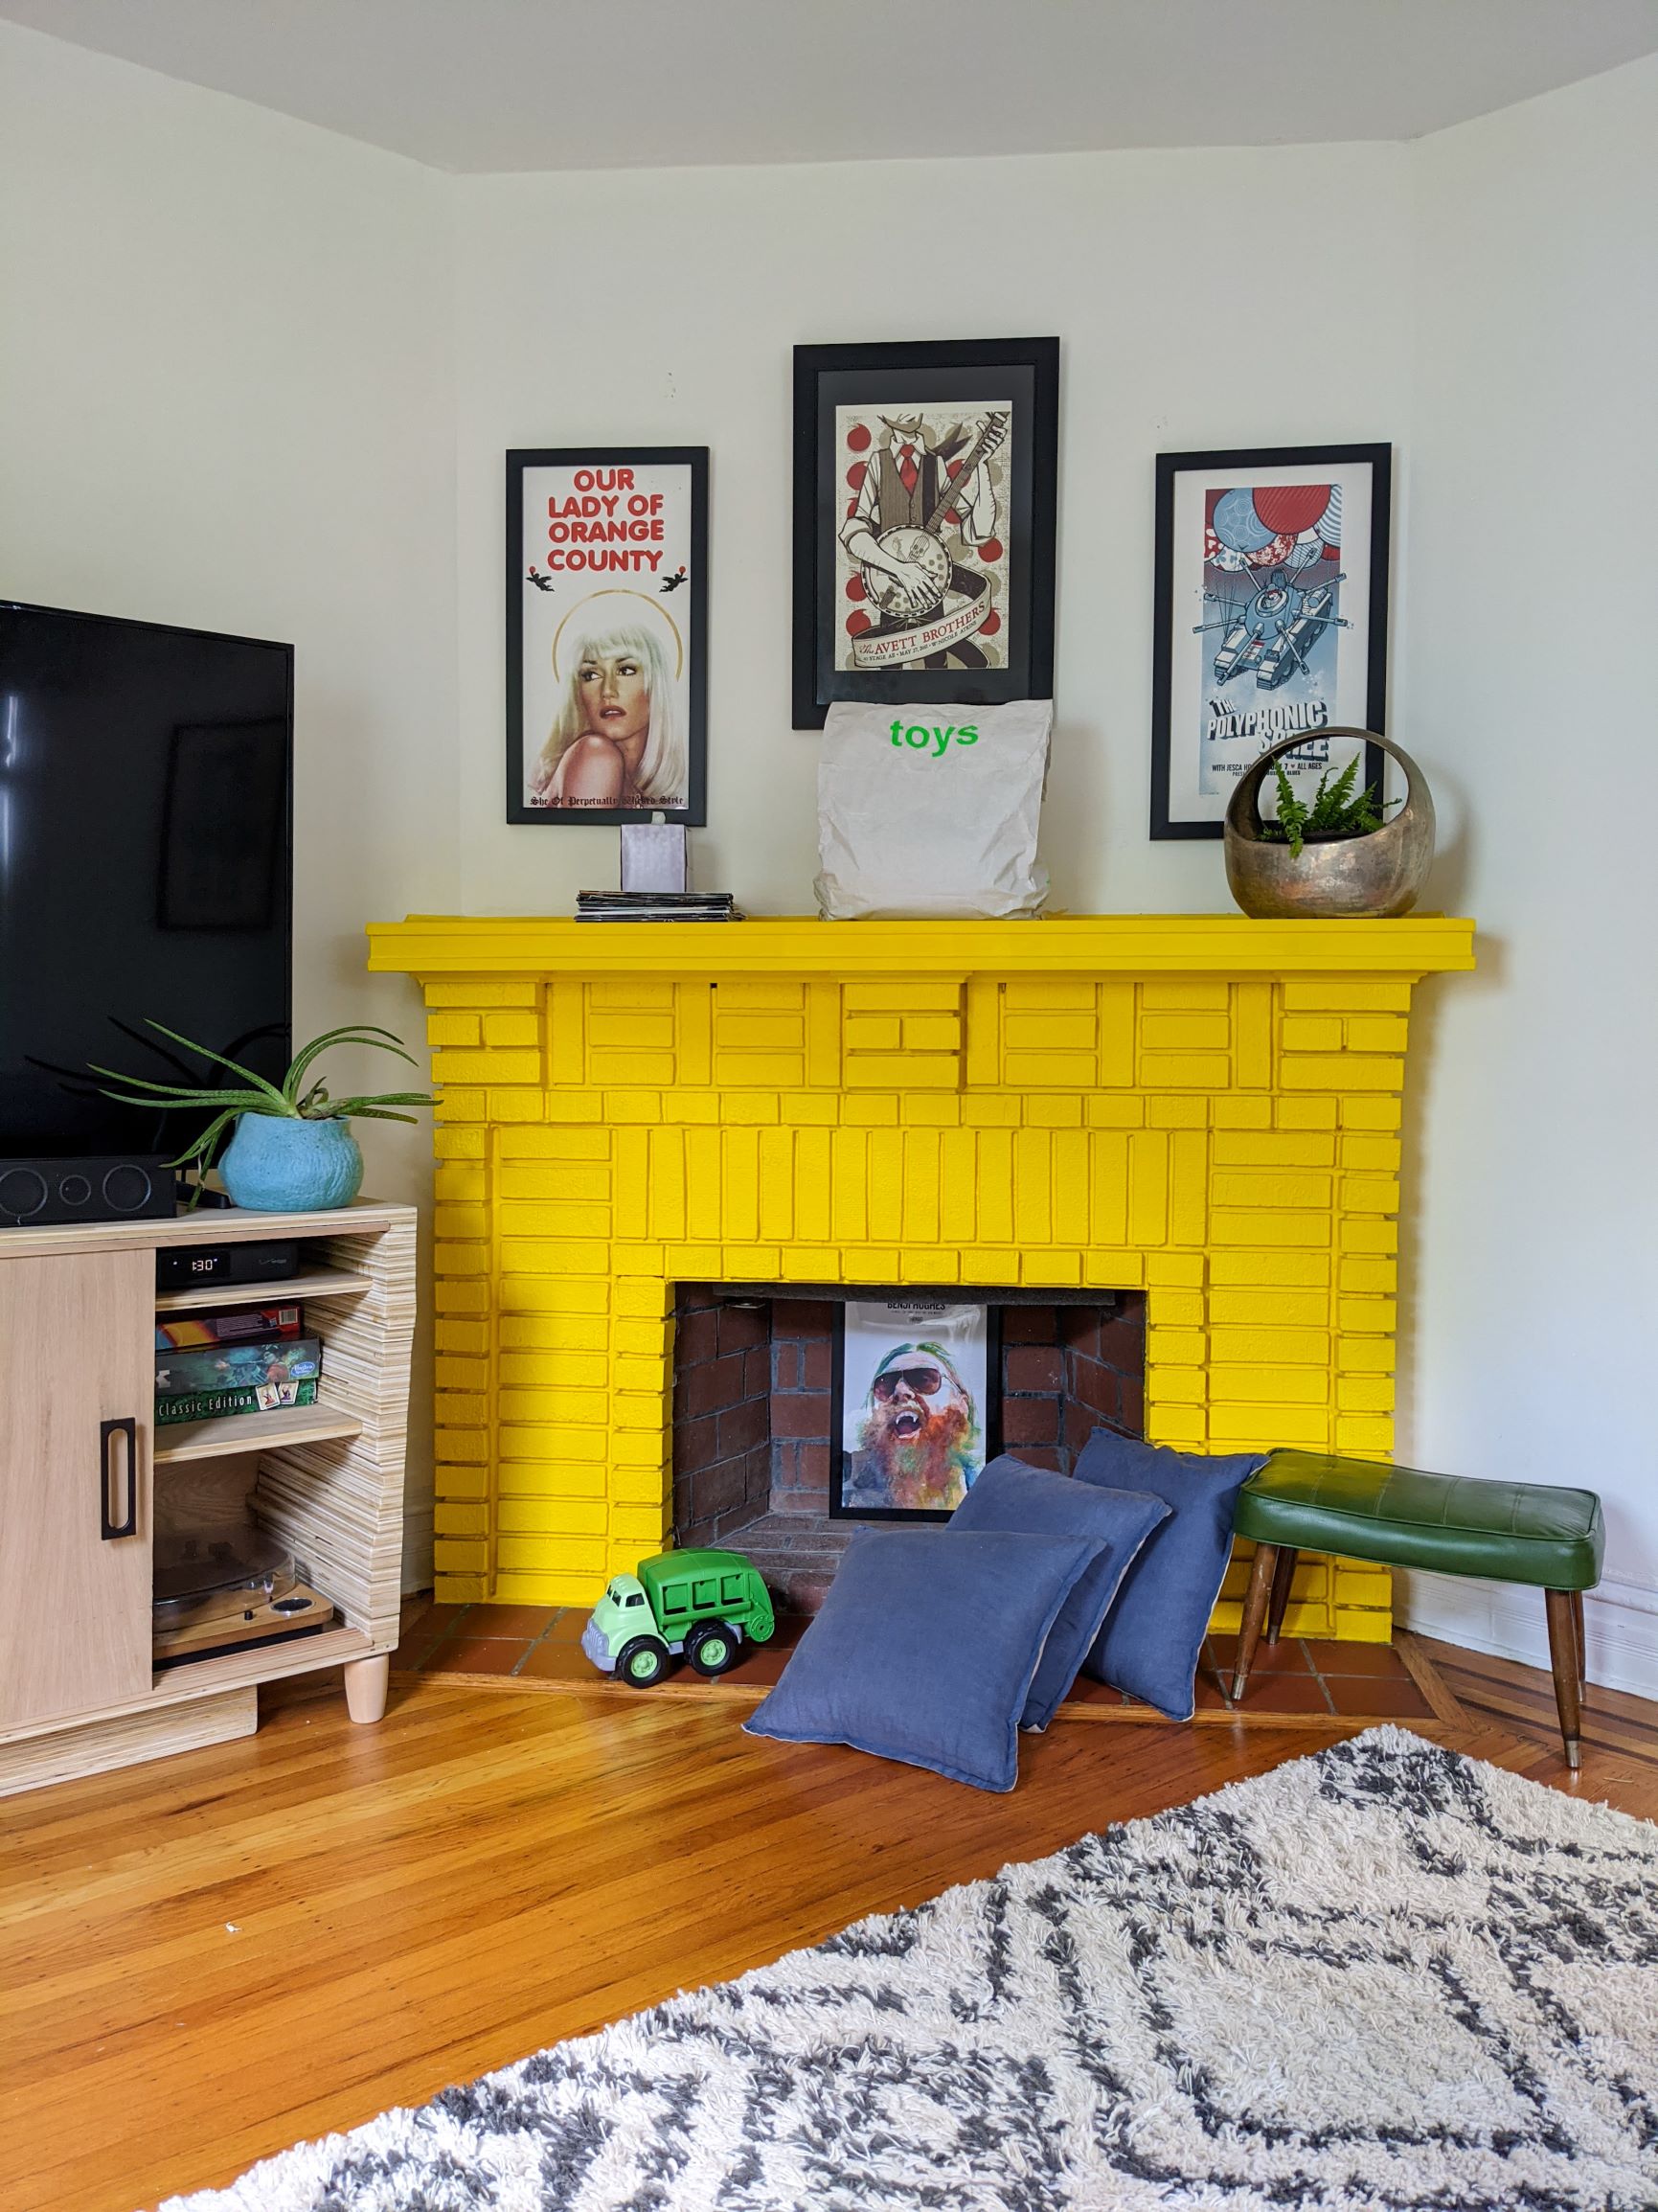
DIY Media Console
I spent the past two months working on a DIY project – a media console for our TV and to house a whole bunch of stuff to keep away from baby. And now that it’s done, I’m breaking down what I did and why, mistakes, and what I learned from this process.
I first mentioned DIYing the media console here and updated you here. As a refresher, here is a sketch of what I hoped it would look like, knowing that this sketch didn’t include the sliding doors that I was planning to build.

And here is the end result. I would say pretty good considering this was my first time building furniture, right?

I wanted to build a media console because we have specific space and function requirements. We needed something that was large enough in scale for a larger TV we bought at the end of last year (you can see here how lopsided the situation looked), and was the perfect size for where the TV currently is but could also fit the other living room if we ever move the TV’s location. It also needed to be the right height and easy to baby proof because of our toddler who climbs, pulls and opens anything he can. I wanted it to have sliding doors for space saving reasons. And it had to fit a lot – video and board games, a cable box and gaming console, plus all the miscellaneous things that come with both, a record player and vinyl records. These are a lot of specific requirements that are nearly impossible to find all together already made. If I were to have purchased something like this, it would have cost A LOT of money.
I also thought it would be fun to have a DIY project, and something I was trying for the first time, to do during this pandemic.
After researching several tutorials to learn about different methods and materials, I settled on using this DIY tutorial as the basis for the project, with tweaks to accommodate the measurements I needed and sliding doors. The reason I felt comfortable using this tutorial is because I thought stacking the plywood would make it easier to achieve right angles and the sturdiness required for this kind of furniture.
I bought all the materials from Home Depot via delivery and spent about $800 on a Dewalt circular saw (I have wanted one for years and this saw will come in handy for any future DIYs, so I thought buying one new instead of borrowing one was literally worth it), clamps, and pieces of white oak plywood and birch plywood.
Because I could only work on this project during naptimes on the weekends, it took two months to complete. The most time-consuming aspects were cutting all those pieces of plywood strips, and then gluing and screwing them each in. I discovered that I am not good at cutting straight, even with a guide.
The doors gave me the most trouble. I was planning to use a router to cut grooves in the top and bottom shelves that would fit the sliding doors. I should have cut these grooves first before building the console, something I didn’t realize until I was almost done. So, instead, I purchased pre-made wood tracks for sliding doors of 1/4″ thickness, since that was the thickness of the white oak plywood I was working with. This ended up being a good solution. Another bit of trouble was cutting the wood itself because I could never get the precise size I needed. I hope to get better with time, but this means that none of the doors are perfect and there are three of them.
Another problem I encountered is that the doors can’t close flush to the sides because, since I am not skilled at cutting plywood straight or evenly, the doors don’t have a straight edge to close against.
In the end, the doors look good but don’t slide very well, which is kind of like natural babyproofing!
One reason the doors look good is because of these beautiful handles that Daniel bought me as an anniversary gift from Nest Studio. We have them in oil-rubbed bronze and the almost black plays so well off of the lighter, natural white oak. I love them!

And lastly, the base. I had intended for it to be just a stacked plywood base, which I built, but Daniel felt that would make the console too easy to tip over if Gus tried to climb it. To add stability, I found pre-made wooden legs at Home Depot at the right length and wood tone, and screwed them in to each corner. I thought it would look terrible, but I actually really like how it turned out.

While I absolutely love the look of the stacked plywood and how easy this DIY was to execute, I think the next time I build a piece of furniture, I will not use this much plywood – or plywood at all – and not go the stacked route. Plywood is HEAVY and this piece of furniture weighs a ton. Maybe even literally. Now that I’ve built this, I have more confidence that I can use other methods to build furniture.
I plan to fix the sliding door tracks and cut new doors as some point, but for now, I am just going to enjoy what I built.
You can follow along this DIY project by checking out the Stories highlight on my Instagram page here. If you are in the market for a media console or credenza, check out a few options here.


